FAQs and helpful tips
How do I get started?
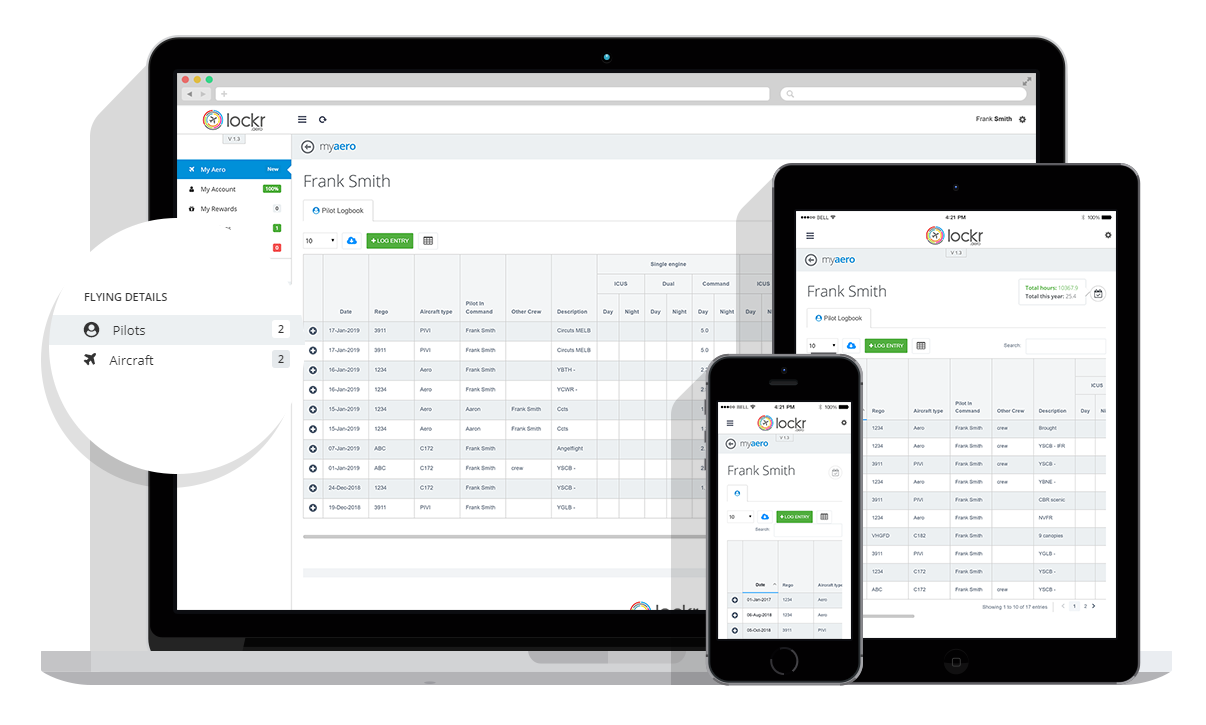
Congratulations on joining the Lockr.aero community – your electronic pilot and aircraft log book solution – together we are making “no paper planes”.
To set yourself up for the first time you will need access to a computer or laptop or another device with a full featured web browser. This is so we can create our pilot log book(s) and aircraft log book(s). Once you have set this up, you can download the Android or iOS app on your preferred device to log all your flights, no need to return to a computer or laptop unless you want to!


How do I add a pilot?
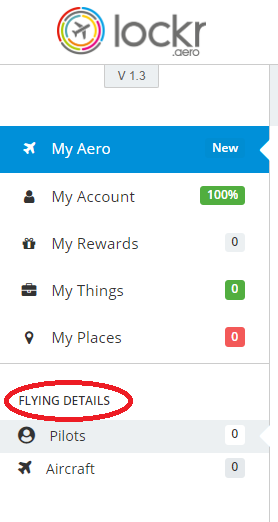
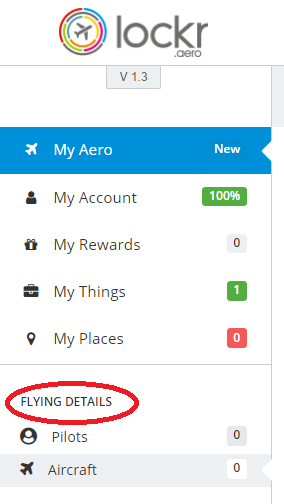
Under FLYING DETAILS – Select/Click on the Pilots menu item.
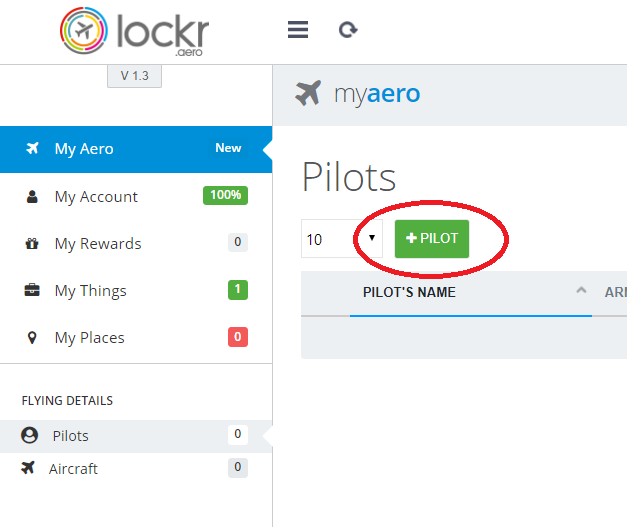
Select/Click on the “+ADD PILOT” button.
Enter in the pilot details that are prompted and select/Click the “Save Pilot” button.
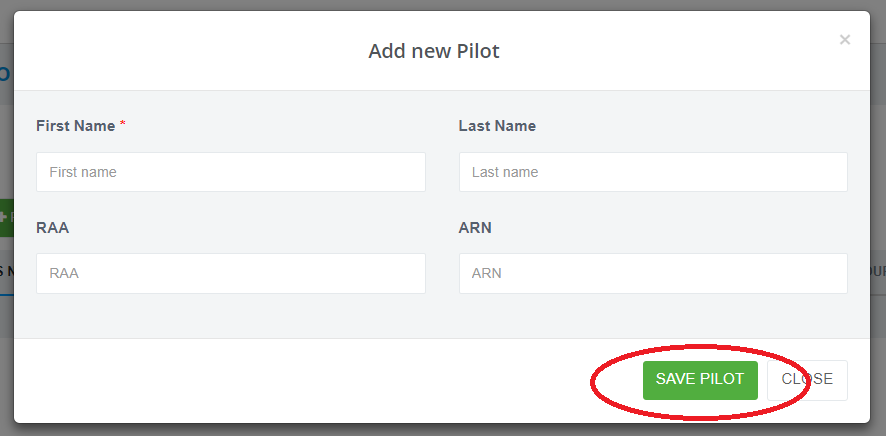
When you have saved your new pilot, the number of pilots in the left hand menu will increment by by one.

You have now finished adding a new pilot.
How do I set up a flying school?
As a flying school you will want to share records with instructors, allow them to make entries into logbooks and have access to student logbooks. We have a system that allows instructors to have their own account which eliminates the need to share usernames and passwords for your school account. This is quite simple with lockr.aero and only takes a few steps. It also enables your instructors to keep their own logbooks if they move on to a new job after working at your school.
Firstly, set up your account in lockr.aero. You will need to contact us to establish a flying school account so we can customise the pricing and options to suit your operation. Your instructors will also need to set up an account with us, please be sure to use our free instructor account for them (set up a free account, send us proof of your instructor credentials and then we will do the rest).
Once you have each of these accounts set up, we need to enable sharing.
For your school account
Once you have your school account set up, navigate to your “My Account” settings and scroll down until you see the account sharing section.

Enter in your instructor’s details here and set the permissions level accordingly. We suggest setting it to “Full” for instructors so they can access all logbooks while logged in. If you want to restrict access so they can view but not add/edit/remove records then set the permission level to “Read-only”.
The instructor will receive a notification asking for them to accept your invitation to access your account and once they accept this, they will have access per the permission level you have set.
For your instructor accounts
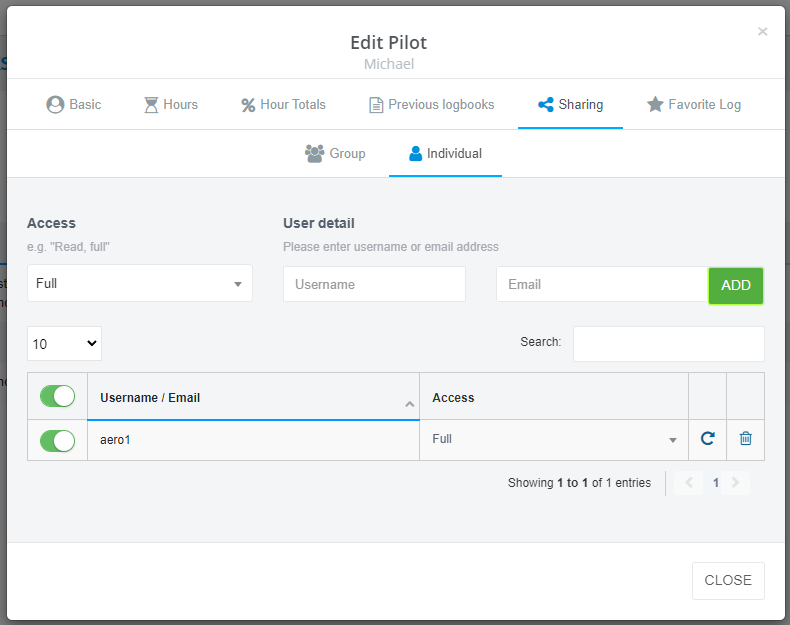
In your instructor accounts enable your logbook to be shared to your school account. Edit your pilot setup and click on the “Sharing” tab. Once here, select “Individual” and enter your school account name or email address.
Set the permission level (once again we recommend “Full”) and click add.
A notification will be sent to the school account which can be accepted.
How to use the system
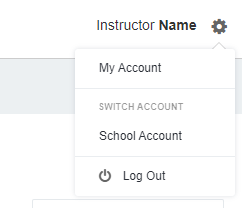
Once sharing has been set up as described above, each instructor can log in to their account and then switch to the school account. To switch accounts click the gear icon at the top right of the screen and then choose the school account from there.
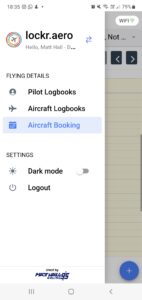
If you are using the app then you can switch from the main menu by clicking the double arrow icon at the top.
Once you have switched you will be able to access all features in the school account as though you were logged in to that account directly taking into account the permissions you have been granted.
Adding times from your previous logbooks
- Make a single bulk entry and mark it as “Entries brought forward from previous logbooks”. This is the quickest and simplest way.
- Break your entries down into categories. You may wish to make several entries and separate them by type, aircraft feature or some other breakdown. In this instance you would still have each entry labelled as “Brought forward from previous logbooks” but there would be more than one of them.
- Enter all of your information line by line. This is obviously the most thorough method but it is also the most time consuming. Of course the advantage of this method is that you will have all of your details and be able to report on your entire flying history.
In all cases we recommend that you at least break your previous entries into two categories – hours flown this year and hours flown the previous years. By dating your two records like this it will ensure that your year totals are summed up correctly. This is shown in the image below where two entries have been made, one with all hours included until the end of 2018 and another entry for hours up to 30 April 2019 when the lockr.aero logbooks will start. This ensures the hours in the red boxes are accounted for correctly.

How do I add an aircraft?
Under FLYING DETAILS – Select/Click on the Aircraft menu item.
On the right hand side there are three tabs: Aircraft, Engine, and Propeller.
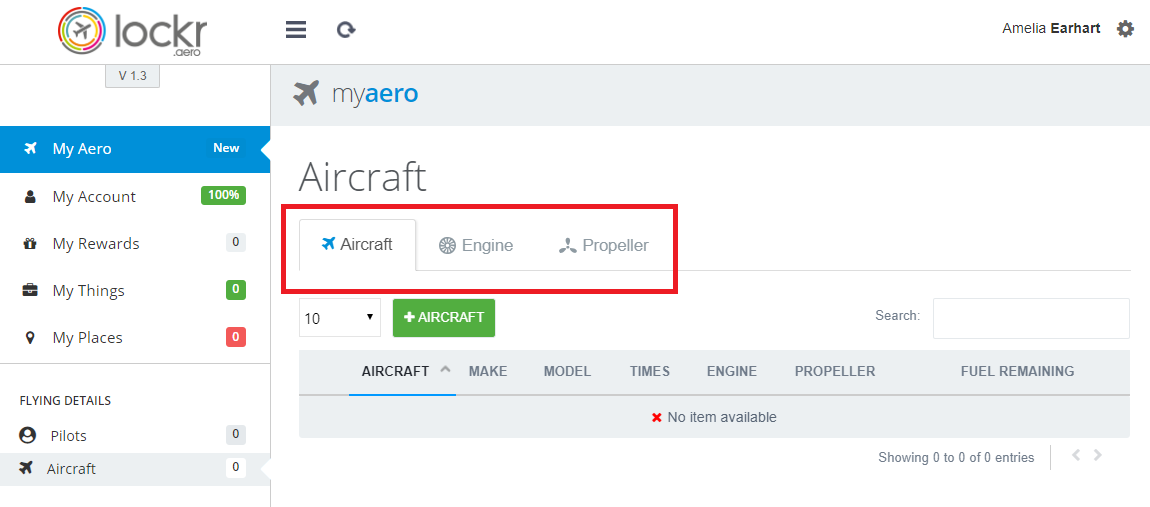
If you are not already on the Aircraft tab Select/Click the Aircraft tab, and then select/click the ‘+Aircraft’ button
Under the heading “Add new Aircraft” you will see there are three menu items: Basic, Fields and Features. Some items on the “Basic” and “Fields” tab are mandatory while the items in the “Features” tab are optional.
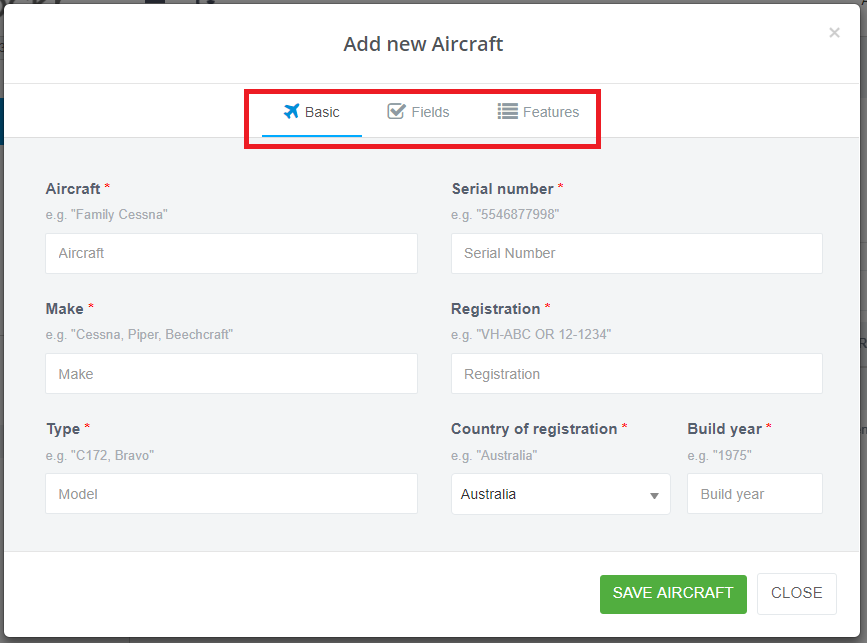
First step: complete the Basic details for your aircraft. Be sure to enter values into all fields marked with a red star (*) or you won’t be able to save the aircraft.
Next select/click the Fields menu item underneath the heading “add new Aircraft”.

On this screen, there are three sections: Times, Mandatory fields and Daily inspection times calculated on.
Some tips/pointers:
- Times: is for your aircraft and component hours. You need to choose one at a minimum but can choose more.
- Set these times to the same value as the timers in your aircraft when you plan to start this logbook.
- These times will also be used to calculate hours for your engine and propeller.
- Mandatory fields: if one or more of these are selected, you will be prompted for these fields when you complete your aircraft log book. If none of these are selected then these items will be optional and you will not be prompted to enter them in. If you change your mind in the future you can come back to this screen and select/click the option(s) you want.
- Daily inspection times calculated on: this is the timer that you wish to use when recording daily inspections.
Finally select/click the Features menu item.
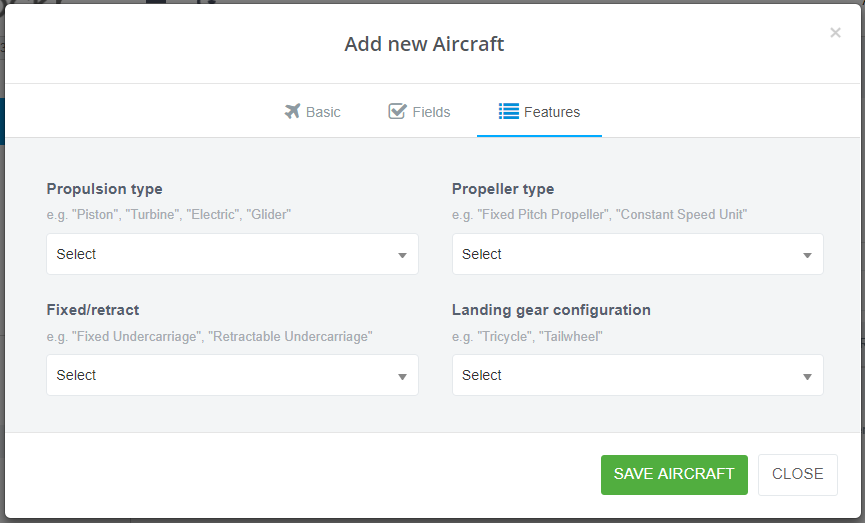
On this screen you can select the design features that you want to record for each flight that you take with this aircraft.
Before you leave, don’t forget to select/click on the Save Aircraft button.
Your aircraft has now been created!
Can I add an engine or propeller?
The process for adding engines and propellers is identical. The instructions below are written for the engine tab, however, they apply to propellers as well. Simply substitute propeller for engine in these instructions when adding a propeller.
Select/Click the Engine tab
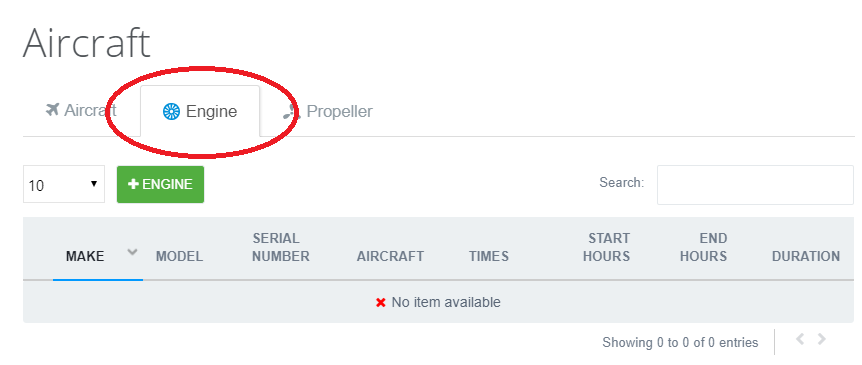
Select/Click the ‘+ ADD ENGINE’ button
Complete all the details for your engine.
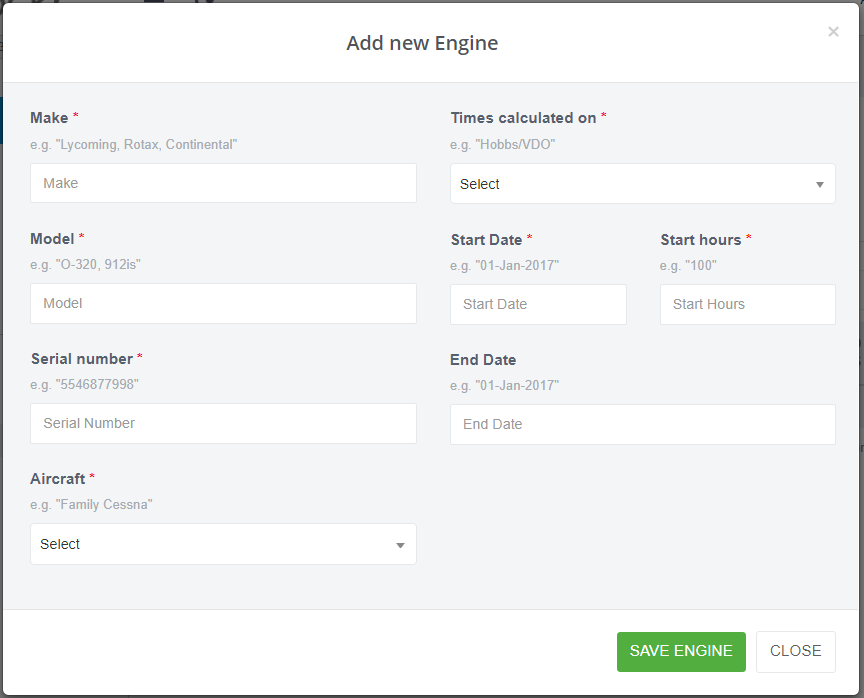
Some tips/pointers:
- Aircraft – this is a drop down menu and represents the aircraft that the engine is installed in. You will be able to select from the Aircraft that you have created
- Times calculated on: this field will show the times that you set up in the aircraft (see above) and will be used to calculate the hours on the engine. For example, if you set up a Tacho in the aircraft then you can select it in this list and your engine hours will be tallied using this.
- Start Date and End Date: all hours accumulated on the relevant aircraft/timer combination that have been selected will be applied to the engine between the start and end dates selected here.
- Start hours: this is the number of hours accumulated on the engine prior to this logbook being started.
Select/Click the ‘Save Engine’ button.
Your engine has been created.
How do I share a logbook?
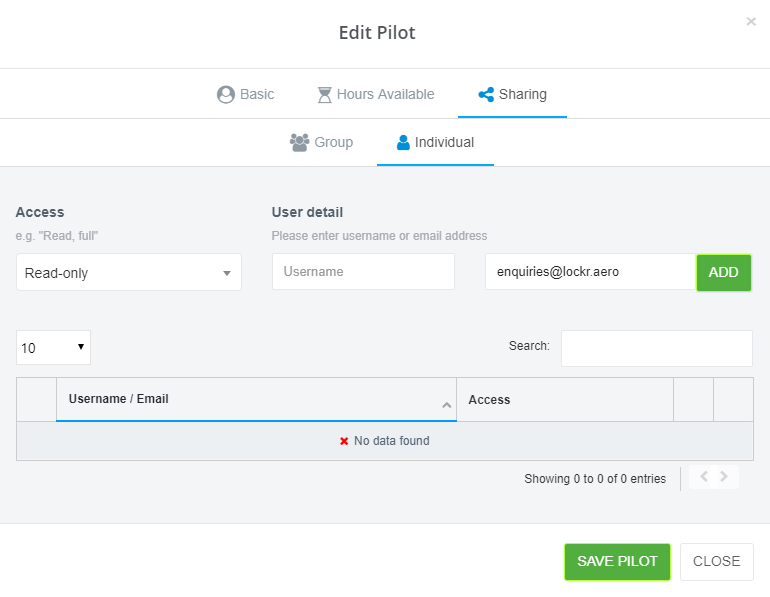
Once you are logged in on a browser open up your pilot set up screen and you will notice a new tab called sharing:

From here you can share with individuals or, if you want to create groups for quicker and easier sharing in future, you can do that too.
To share with an individual select the “Individual” sub-tab and you will be presented with options about how you want to share your logbook and who you want to share it with. You can choose to make your logbook read only for other users or give them full access if you want to allow them to make entries on your behalf. For pilot logbooks you can also choose certify which means the person you have shared your logbook with can’t make or modify entries but that can certify your logbook as true and correct, certify entries for flight reviews, etc.
If you know the other person’s username you can enter it on this screen:

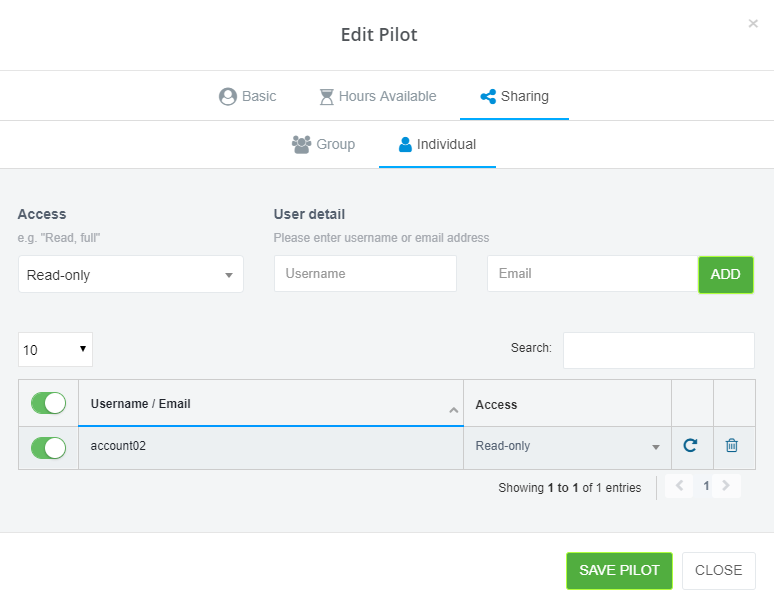
If you only know their email address you can use that instead. The great thing is that even if they don’t have a lock.aero account, we will send them an email to get them set up. People using a trial account, even if it is expired, can still make entries into a logbook attached to an account that has a paid up subscription. In other words, they don’t need to pay for an account to access your shared logbooks including club aircraft!
Once the logbook is shared, that users name will show up in your sharing panel so you can keep track of who you share with, what access level you have granted and so on. If you want to suspend their access for a short period simply click the green toggle switch to the left of their name. You can suspend everyone at once if you click the toggle at the top of the list. If you want to delete a person completely then click the trash can to the right of their entry.
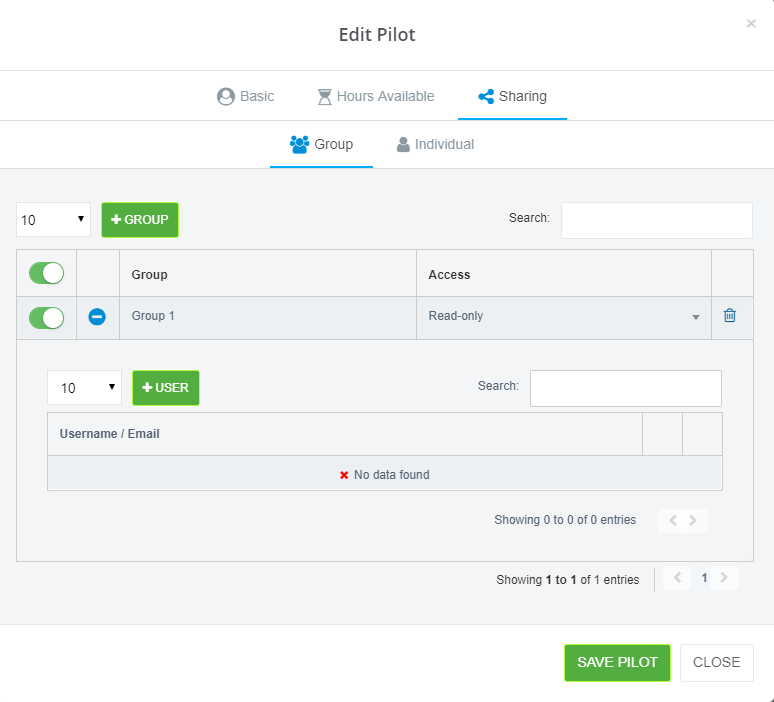
Sharing to groups is similar to sharing with individuals except you create a group first. Select the “Group” sub-tab and you will be presented with the list of groups you have shared this logbook with. Initially the list will be empty:

Clicking the “+GROUP” button will present you with a screen where you can select the level of access you want to grant and you will be able to create a group name. If you have created a group before, for this logbook or another one, you can select that group instead on this screen. Once you have done this, click “ADD”.
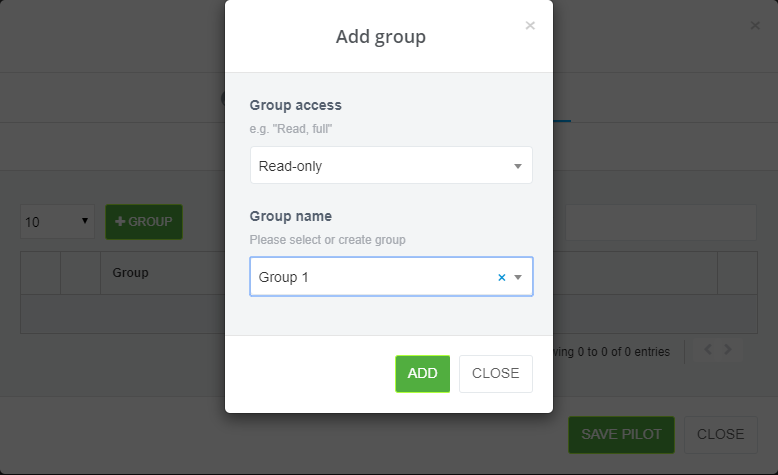
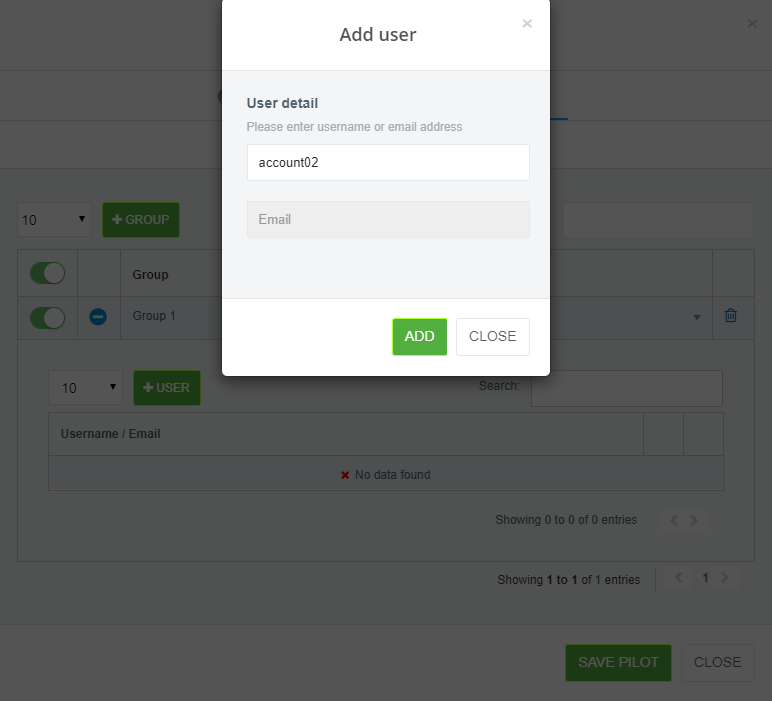
Your new group will now be in the list. If you chose an existing group then you will see the users that were previously added to that group. If you created a new group it is time to add individuals to the group.
Click “+USER” and you will have the option to enter a username or an email. Note that you do not need to set the access level here as you have already set it at the group level:
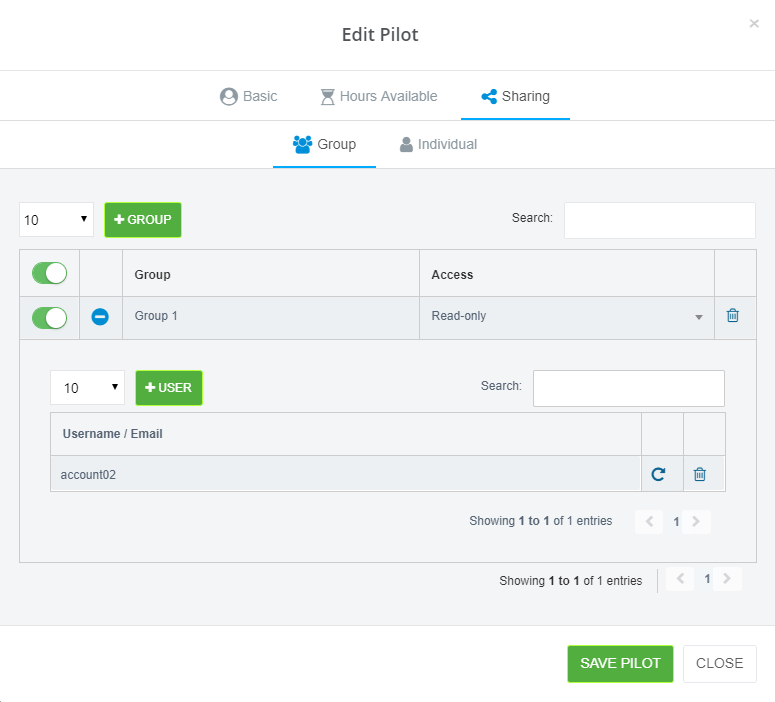
Once you have added a user to a group that person will show up in the list for that group.
You can create multiple groups for one logbook and you can use that same group across other logbooks. For example, if you are an aeroclub with multiple aircraft you can create one group of “Pilots”, set the access level to “Full” and use that group for all of your aircraft. You may have some volunteers that help keep track of the aircraft but don’t actually fly and these people could be added to another group called “Admin” and given read only access.
If you modify the members of a group then these changes will apply to all logbooks that use that group. This feature is handy for clubs and flying schools that may have members and students come and go over time, if this happens you only have to add or remove the member from the group once and the change will apply to all logbooks where that group has been used.
Note that if you have a user that is in a group and you share a logbook individually to that user, the individual access level will be applied. For example, if you share a logbook with read only access to “Group 1” and “Account01” is in that group they will have read only access. If you then share that same logbook to “Account01” at the individual level and apply “Full” access, that user will now have full access to the logbook regardless of the group setting. This saves you from having to remove a user from a group used across different logbooks if you want them to have higher access to one particular logbook.
Does lockr.aero have an affiliate program?
Can I use lockr.aero on my mobile device?
If you have a browser that is up to date then you can login via the website at lockr.aero.
If you prefer to use an app then you can download it from the Google or Apple stores.

What happens if I let my account lapse?
Does it matter if I have no internet access?
Most electronic logbooks require an Apple device, what if I use Android?
Can I share my aircraft with others so they can use my plane and make entries?
Can I add multiple engines/propellers to the same aircraft?
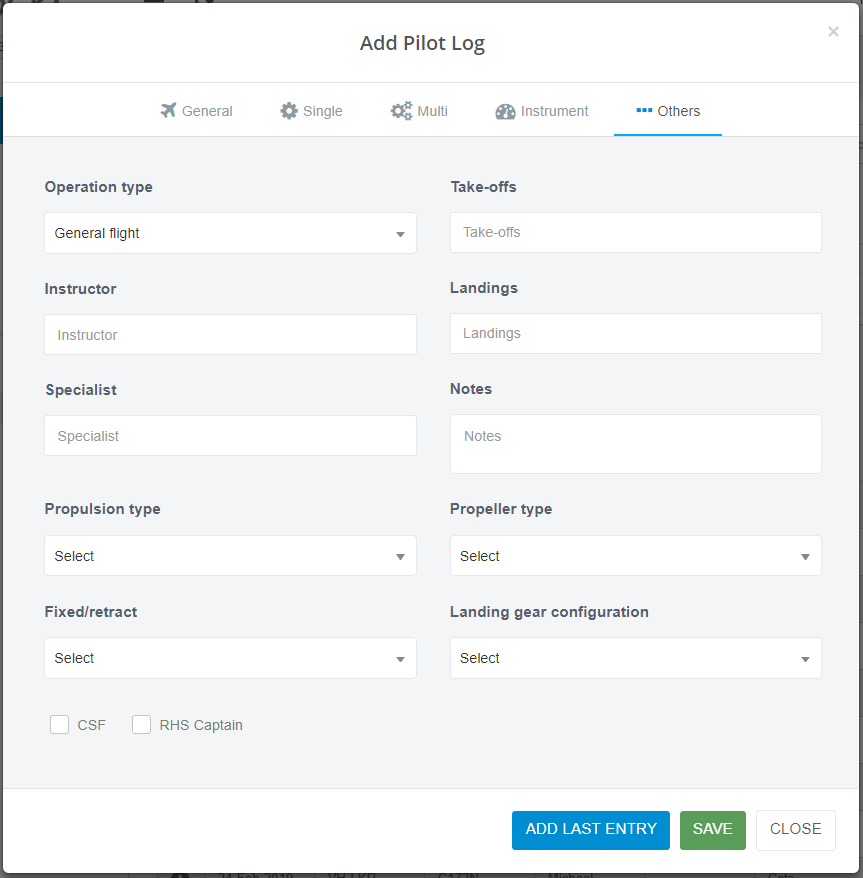
What extra information can I log in lockr.aero?
For example, CASA now requires that community service flights are specifically noted in your logbook. We have made this easy by creating a simple check box to track these flights.